
WHOSE IDEA WAS THIS?
My parents were hosting an engagement party for my brother and his fiance. (They were traveling up to Seattle from California)
 |
| My brother Paul & his fiance Victoria |
So my friend Blair had a brilliant idea that we make a fondant cake (neither of us have EVER made one). She thought that this would be the perfect opportunity to practice our fondant making-- I shouldn't say practice, let's use the word TEST instead. After reading and researching many blogs the reviews were mixed... do we make our own fondant from SCRATCH or do we just buy it?
Buying it sounds so convenient but what fun is that? Fondant is pure fat and sugar, and taste disgusting... what's the point then? It is supposed to look so pretty though...
Ingredients used for fondant:
16oz bag of marshmallows, 2 lbs bag of powered sugar, crisco, couple teaspoons of water, and corn starch and food coloring gel (green because that is Victoria's favorite color).
Cake ingredients:
You better believe I used boxed cake mix, duh. We used 3 cake boxes (second time around) of yellow cake, raspberry jam for the filling and butter cream frosting for the fondant to stick, and cream cheese frosting for our piping and for the dots to stick.

Heat up the marshmallows (and add those couple of teaspoons of water) stirring occasionally, warm until they are smooth and stir able. Set up your "crater" below the mound of powdered sugar is a crisco base.
.jpg)
Be sure to grease up your hand with A LOT of crisco, and when I mean A LOT... I mean rub some on, and then when you think there is enough.... put more on! On our first trial run, I definitely DID NOT put enough on... yeah it hardens and it is almost impossible to get off!

Pour the melted marshmallows into the powdered sugar craters. Then you are just supposed to continue to work it in until it turns solid....
.jpg)
This picture is actually from the trial run... I could barely move my fingers.
So Blair had to hop in and help me... it was hard! Eventually (probably like 30 minutes later) it solidified and we had fondant! To make it colored we just added a few drops of food coloring gel.

While working on the fondant, our cakes were baking... mmmmm raspberry jam filling.

...Blair rolling out the fondant.

So this was our TRIAL run cake. Yeah it looks horrible. Blair and I didn't even finish putting the circles on because a) we were way to tired at this point and b) it just looked horrible nothing was going to help. We told ourselves it wasn't that bad, but I think we were both a couple of glasses of wine into this. (In all honesty I think we didn't want to admit it, but it was HIDEOUS.) We slightly may have lost a little bit of hope for making a fondant cake....
|
|
|
|
|
|
There was hope.
|
|
|
|
|
|
We decided to fully concentrate the second time...no pictures, no wine, no messing around...

Putting the last minute touches and pipping the cream cheese frosting. It was so hard to complete the cake in the 95 degree weather! We had to alternate putting the frosting and then the cake into the fridge so the dots and pipping wouldn't melt!

It is a miracle we came back from our trial run cake, did I mention it was horrendous?
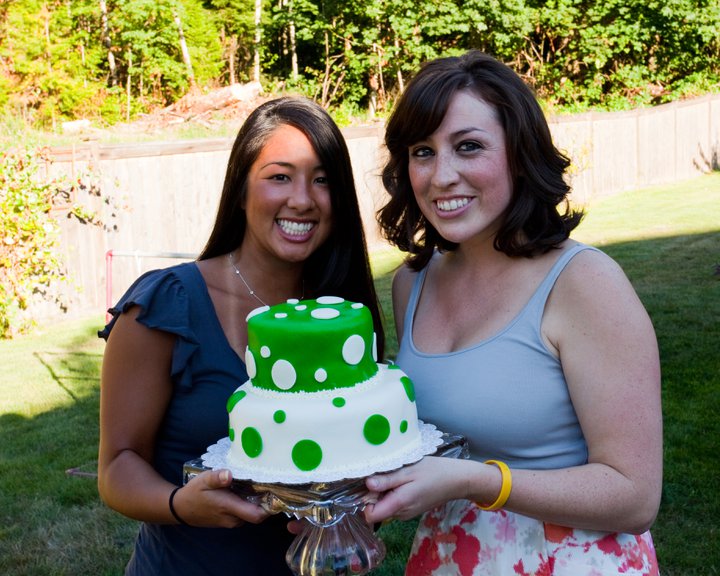
Blair and I with the finale cake.
After hmmm: 5 cake mixes, 15 eggs, 4 lbs of powered sugar, LOTS of crisco, hours of baking, and manual labor mending and kneading that fondant... we were very happy and proud of our final product.
Oh, and just incase you are thinking... wow she is really domestic. No no no, don't get confused. I had to buy all these things to bake this cake ingredients AND supplies... yup I had NO bakeware, NO flour, NO wax paper, NO corn starch, NO cookie cutters, NO rolling pin, NO crisco.... NOTHING.
I will still pretend to be domestic, but by having all these supplies it can at least look like I am trying?


.jpg)
.jpg)
.jpg)
