Monday, October 25, 2010

Mummy Pops


These Halloween treats were fun and really simple to make...


Items that you need... a package of oreos, sucker sticks, white candy melts (I used Wilton), a piping bag and a flat decorating tip, and googly eyes (I was not able to find the edible googly eyes, so I used Wilton black sparkle gel). 

The original post and step by step instructions can be found over at How Does She? 
 (Note: I decided to not cover the whole entire cookie because I just thought it'd be too sweet, so I only dipped the front of the cookie.)


PhotobucketMy nephew, Ethan, enjoyed playing with and eating his mummy pop!


Monday, October 11, 2010

Stamp Thank You Card

 I went to a Stampin' Up! bunco party last month and purchased a few stamp sets. I was excited when I found a reason to use them! I am not usually into stamping but these sets were too cute to pass up;


I needed to make a couple of quick thank you cards that I could just whip out in a matter of minutes. I already had everything on hand, and used a 1 1/4 inch circle punch and also a hand held single punch. The ribbon that I used (I actually won it!) is also Stampin' Up! 

If you need a Stampin' Up! demonstrator contact 
Blair over at Bright Pink Sprinkles!


Photobucket

Monday, September 27, 2010

Candy Corn Wreath

Time To Decorate!

My sister in law picked up this magazine for me the other day... To be honest I have never opened or read through a Woman's Day magazine. They have so many brilliant ideas for October/Fall/Holiday decorating, etc. (There are super cute how-to cupcakes that I might have to attempt to make.) 


The wreath on the cover is made from candy corn, and it didn't look that difficult to make at all.

You'll need a styrofoam wreath (I used a 12 in. one, the magazine recommened a 16 in.), black duct tape, wide ribbon, and candy corn (my size wreath took 3 11oz bags, Brach's brand). Start by covering the wreath with the tape. 


Start in the middle of the wreath laying candy corn the same direction and continue all the way around... there is going to be a gap once going around, just be sure to start the next  row in the same spot each time, you can cover any candy corn free space with the ribbon. Repeat with each row opposite of the once before. Loop ribbon of choice through wreath and hang on a sturdy nail.

Here is my new Halloween wreath! 

I love it!

Photobucket

Monday, September 20, 2010

Fabric Flower Necklace

J. Crew, Anthropology, Urban Outfitter, Ann Taylor, 
Cookie Lee, Nordstrom, Target, etc. etc. 
Inspired Fabric Flower Necklace How To

I have been wanting to make one of these necklaces for awhile and have seen them all over at the mall, in magazines, on other blogs, pretty much everywhere. I went to a Bunco party this weekend, and one of the ladies was wearing a Cookie Lee Necklace, as soon as I saw it I had to make it. It was a great piece to see for inspiration but I definitely took some of my own alterations to it. 

I planned to have a "veg" day and do nothing, but crafting consists of doing nothing, right?! One of my best friends is in town from Hawaii and this was a fun project to work on together and I always enjoy bringing someone over to the crafting dark side...

It is a little time consuming but worth the end product! 


Items needed:
Choose a fabric. I used two because I like the texture it adds. I choose a tulle/sheer and a silk eggplant color (In the pics it looks black put it's just a VERY DEEP purple.)
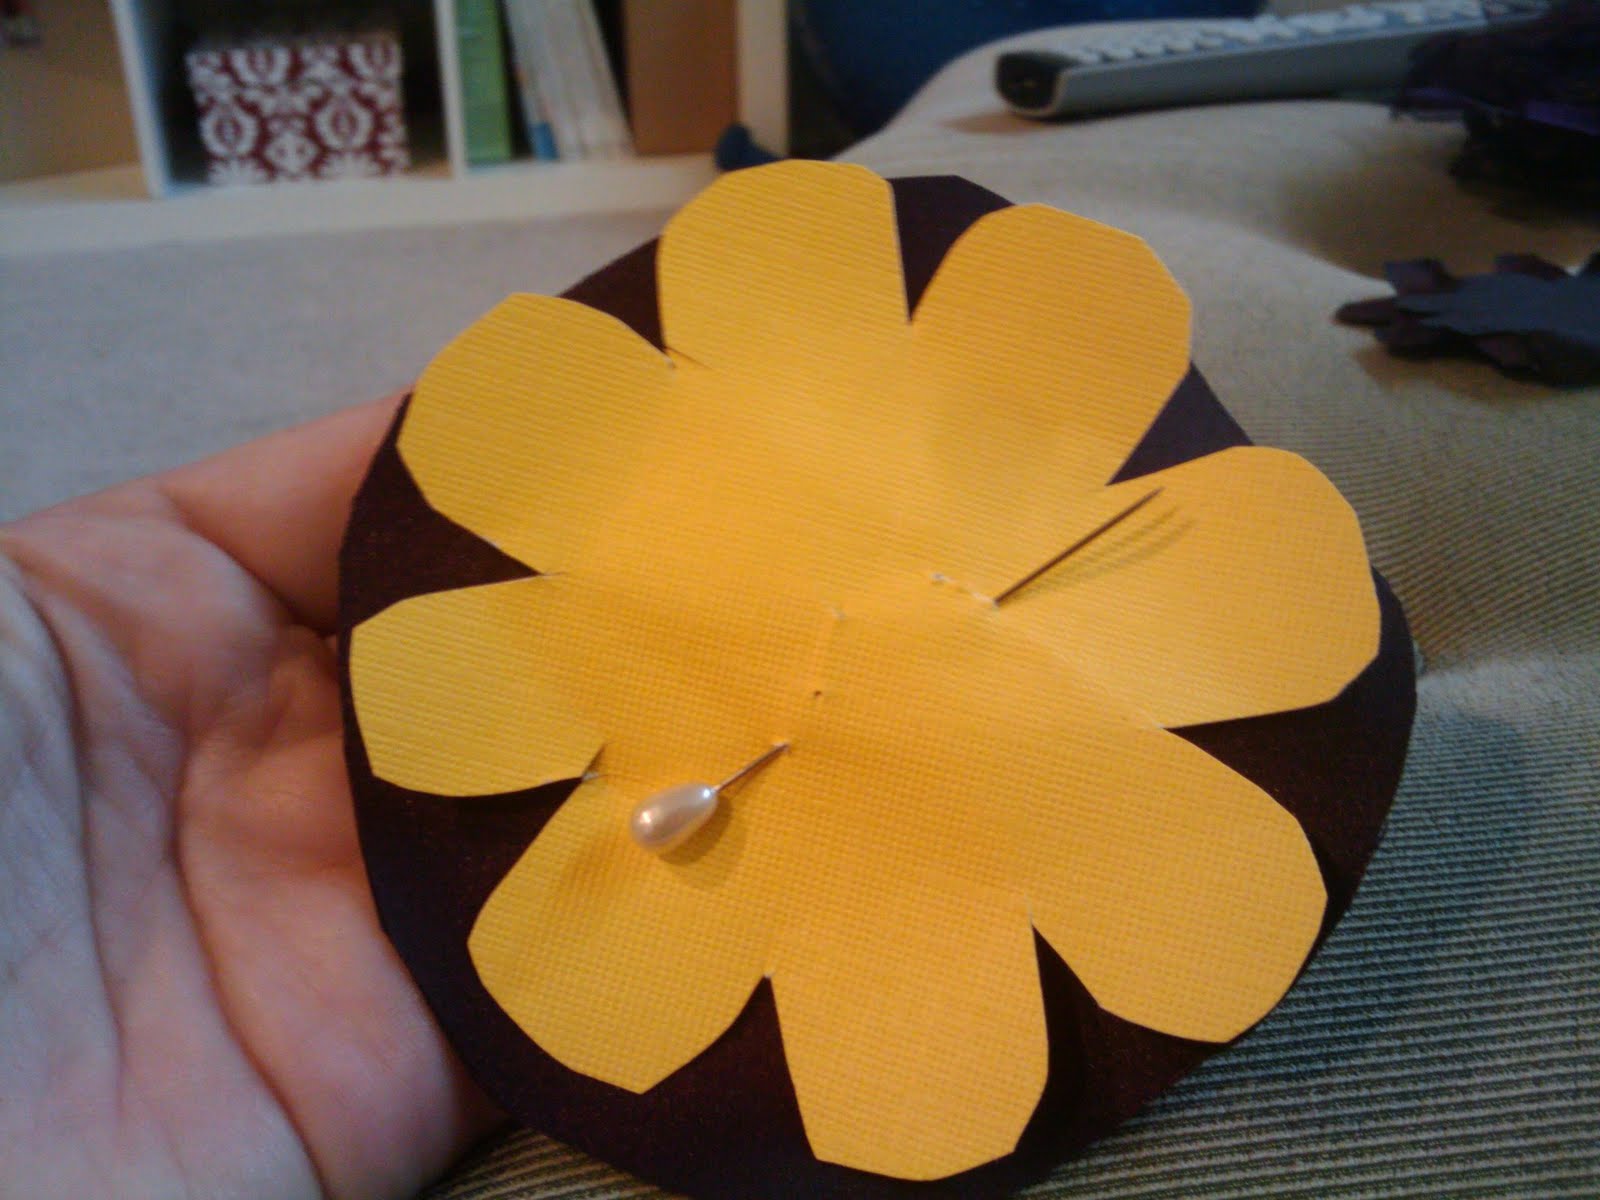
Flower template (small and large). I just printed one from clip art, and then used a thicker paper to use as a stencil. 
Sharp Scissors & Hot Glue Gun.
Some kind of embellishment.I like the crystal/gems that I used but buttons always look cute too!
A heat gun ...or in my case a small tea light candle. 
Ribbon. Preferably matching the color of fabric, or a fun print would be exciting! 


Bare with me because I have a VERY HARD time taking step by step pictures. I just get too excited about my project being done! 


I like to layer my fabric and cut multiple at a time. 
Repeat this step with both types of fabrics and both sizes of flowers.

Once all your flowers are cut you need to singe the edges, hence where my tea light candle came into play. Be careful because the tulle/sheer fabric burns quickly : )

Stack your flowers however you want in regards to what kind of texture you like, I enjoy more of the tulle/sheer so I only used a few of the silk fabric. Just layer each with a dab of hot glue. 

Embellish each flower, and hot glue onto your choice of ribbon, and shaaazaaaam:


For the clasp in the back, just tie your ribbon! 

This project was fairly easy but as mentioned it is very time consuming. 
With all the materials bought (1/2 yard of fabric and a spool of ribbon, gems I already had on hand)... each necklace total cost: $3.00! 


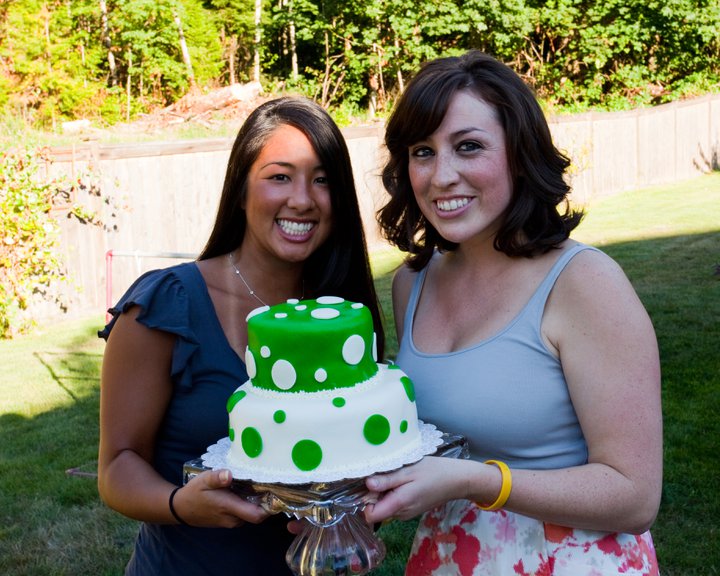
This is Sarah's necklace, she did such a good job! (So proud!)
She decided to do more of a scoop rather than layering. It's adorable! 


Photobucket

Wednesday, August 25, 2010

Making A Fondant Cake

WHOSE IDEA WAS THIS?
My parents were hosting an engagement party for my brother and his fiance. (They were traveling up to Seattle from California)
My brother Paul & his fiance Victoria
 So my friend Blair  had a brilliant idea that we make a fondant cake (neither of us have EVER made one). She thought that this would be the perfect opportunity to practice our fondant making-- I shouldn't say practice, let's use the word TEST instead. After reading and researching many blogs the reviews were mixed... do we make our own fondant from SCRATCH or do we just buy it? 

 
Buying it sounds so convenient  but what fun is that? Fondant is pure fat and sugar, and taste disgusting... what's the point then? It is supposed to look so pretty though...

Ingredients used for fondant:
16oz bag of marshmallows, 2 lbs bag of powered sugar, crisco, couple teaspoons of water, and corn starch and food coloring gel (green because that is Victoria's favorite color).

Cake ingredients: 
You better believe I used boxed cake mix, duh. We used 3 cake boxes (second time around) of yellow cake, raspberry jam for the filling and butter cream frosting for the fondant to stick, and cream cheese frosting for our piping and for the dots to stick.


Heat up the marshmallows (and add those couple of teaspoons of water) stirring occasionally, warm until they are smooth and stir able. Set up your "crater" below the mound of powdered sugar is a crisco base. 


Be sure to grease up your hand with A LOT of crisco, and when I mean A LOT... I mean rub some on, and then when you think there is enough.... put more on! On our first trial run, I definitely DID NOT put enough on... yeah it hardens and it is almost impossible to get off!


Pour the melted marshmallows into the powdered sugar craters. Then you are just supposed to continue to work it in until it turns solid....

This picture is actually from the trial run... I could barely move my fingers.

So Blair had to hop in and help me... it was hard! Eventually (probably like 30 minutes later) it solidified and we had fondant! To make it colored we just added a few drops of food coloring gel.


While working on the fondant, our cakes were baking... mmmmm raspberry jam filling.

...Blair rolling out the fondant.

So this was our TRIAL run cake. Yeah it looks horrible. Blair and I didn't even finish putting the circles on because a) we were way to tired at this point and b) it just looked horrible nothing was going to help. We told ourselves it wasn't that bad, but I think we were both a couple of glasses of wine into this. (In all honesty I think we didn't want to admit it, but it was HIDEOUS.) We slightly may have lost a little bit of hope for making a fondant cake....


|
|
|
|
|
|


There was hope. 

|
|
|
|
|
|

We decided to fully concentrate the second time...no pictures, no wine, no messing around...

Putting the last minute touches and pipping the cream cheese frosting. It was so hard to complete the cake in the 95 degree weather! We had to alternate putting the frosting and then the cake into the fridge so the dots and pipping wouldn't melt!

  
It is a miracle we came back from our trial run cake, did I mention it was horrendous?

Blair and I with the finale cake.

After hmmm: 5 cake mixes, 15 eggs, 4 lbs of powered sugar, LOTS of crisco, hours of baking, and manual labor mending and kneading that fondant... we were very happy and proud of our final product. 

Oh, and just incase you are thinking... wow she is really domestic. No no no, don't get confused. I had to buy all these things to bake this cake ingredients AND supplies... yup I had NO bakeware, NO flour, NO wax paper, NO corn starch, NO cookie cutters, NO rolling pin, NO crisco.... NOTHING.

I will still pretend to be domestic, but by having all these supplies it can at least look like I am trying?


Photobucket

Sunday, August 15, 2010

Dinning Room Chair Turned Accent Piece

CraigsList Find! 
I was searching through CraigsList last month and meandered my way to the "free stuff". I came across two slightly hideous chairs and thought to myself, what a fun project!!! Oh yeah, immediately called my mom to have her pick them up for me (thanks mom!- they were in the same city she lives in and they would have not fit in my car!).

How gross is this? Only one of the chairs made it for the remodel, the other one was in pretty bad condition.

I have been wanting an accent chair for my room for awhile but have just been pushing it aside. I initially wanted to paint the chair a mustard yellow and then use the same fabric from this post Faux Headboard Art. Well come to find out it is a special home decor fabric, and it was going to take three weeks to get to me (I don't have that much patience) and it wasn't on sale from when I had originally bought it. Ughhh....

photo.JPG
So taking the original fabric (top) that I had wanted to use, I decided settled on stripes instead. Now the hard part was to decide which color to use.... black stripes with the mustard yellow paint or yellow stripes with black paint. I ended up buying both of the striped fabrics. Next stop was the store for some spray paint (Did you know I am OBSESSED with spray paint?). Of course they have a WHOLE entire aisle of spray paint- and NO mustard yellow. I did end up buying a color I thought would look good, and I tested it on the other chair--- yeah it looked like a school bus.

So by process of elimination I went ahead with the yellow striped fabric and black paint.

I am in LOVE with how it turned out! It looks really good as an accent piece in my room. As mentioned before check out this post and you will see what I am talking about. It was a bit troubling at time trying to figure out how to reupholster this chair... with A LOT of help from my mom (thanks mom!) we were able to pull it together! Definitely learned a lot for next time, but for now next time is A LONG way aways.

Tuesday, August 3, 2010

Cards From Scraps


Moonlighter 


A couple of weeks ago a good friend of mine invited me to a "Scrapbook Moonlighter". It's a night you scrapbook, gossip about the latest celebrity, or in my case... your favorite blog you have been stalking reading recently. Enjoy some delicious cookies and attempt to have a finished product after by Midnight. 

 It was a lot of fun, but in the mix of working two jobs... I didn't plan very well and didn't come prepared with anything to work on. I pretty much threw together a goody bag of stuff prior to running out of the door. I decided since to work on some cards because I never seem to just have some on hand and have to panic to make one while I am running out the door. So after several hours, this is what I came up with:

Chic Birthday Card

Friends are Flowers  

B is for Birthday 

I was very happy about my new cards, and they best part was... I didn't spend any money for materials! I already had all of the cardstock, ribbons, stamps, embellishments and tags on hand!


Photobucket