Showing posts with label Crafts. Show all posts

Wednesday, December 8, 2010

DIY Ribbon Bag

Remember the post I Heart Ribbon... 
and the crazy amount of ribbon I have? 


Over the weekend of black friday I kept seeing ribbon bags on sale.

They were priced anywhere from $15 - $30. I thought to myself that is a lot of money for a plastic bag with holes in it...


I remembered that I had this bag in my closet from awhile ago when I bought some bedding and figured it would be the perfect size for my new ribbon bag!

I used my cropadile (aka... the best tool EVER) and punch holes all throughout the bag. I wound each ribbon around  my fingers before inserting a small strip through the holes, that way it's not going to get tangled with all the other ribbons and when you need to use your ribbon you just select and pull! 


Some holiday cards are in the works and will be posted in the next week.... hope you are excited to see them! 

Photobucket

Tuesday, November 9, 2010

Weekend In Whistler

This past weekend 13 of my closest girlfriends traveled up north to Whistler, Canada to celebrate Nicole's 25th Birthday (welcome to the club little!). These pictures can't even capture the amount of fun that was had! Just a few highlights to share with you.... 

Remember when I told you I was possibly going to be obsessed with etching? Well it's official. I made these beer steins for all the girls with their name etched and a tag. My tutorial on etching can be found here.
Lindsey and Michelle. Cheers! 
Kelly, Me, Teagen and Nicole during a game of catch phrase!
Erika and Lo breaking it off on the dance floor. 

Note to self... alcohol in Canada is EXPENSIVE! 
Something new and crafty I learned.... it's called "Pot Shots". Yup, you take a shot out of a pot. Sam made Nicole a personalized "pot shot pot" for her birthday! 
We enjoyed some Olympic sightings.

Oh yeah.... a few brave souls went bungee jumping....
Nicole by far was NOT the bravest <-- look at her face!  BUT she did it!
Erika enjoying the ride. 

Lindsey & Teagen getting ready to jump!
The whole group. 


It was an amazing weekend with great friends in a beautiful place.... 

HAPPY BIRTHDAY NICOLE!

Photobucket

Monday, September 27, 2010

Candy Corn Wreath

Time To Decorate!

My sister in law picked up this magazine for me the other day... To be honest I have never opened or read through a Woman's Day magazine. They have so many brilliant ideas for October/Fall/Holiday decorating, etc. (There are super cute how-to cupcakes that I might have to attempt to make.) 


The wreath on the cover is made from candy corn, and it didn't look that difficult to make at all.

You'll need a styrofoam wreath (I used a 12 in. one, the magazine recommened a 16 in.), black duct tape, wide ribbon, and candy corn (my size wreath took 3 11oz bags, Brach's brand). Start by covering the wreath with the tape. 


Start in the middle of the wreath laying candy corn the same direction and continue all the way around... there is going to be a gap once going around, just be sure to start the next  row in the same spot each time, you can cover any candy corn free space with the ribbon. Repeat with each row opposite of the once before. Loop ribbon of choice through wreath and hang on a sturdy nail.

Here is my new Halloween wreath! 

I love it!

Photobucket

Monday, September 20, 2010

Fabric Flower Necklace

J. Crew, Anthropology, Urban Outfitter, Ann Taylor, 
Cookie Lee, Nordstrom, Target, etc. etc. 
Inspired Fabric Flower Necklace How To

I have been wanting to make one of these necklaces for awhile and have seen them all over at the mall, in magazines, on other blogs, pretty much everywhere. I went to a Bunco party this weekend, and one of the ladies was wearing a Cookie Lee Necklace, as soon as I saw it I had to make it. It was a great piece to see for inspiration but I definitely took some of my own alterations to it. 

I planned to have a "veg" day and do nothing, but crafting consists of doing nothing, right?! One of my best friends is in town from Hawaii and this was a fun project to work on together and I always enjoy bringing someone over to the crafting dark side...

It is a little time consuming but worth the end product! 


Items needed:
Choose a fabric. I used two because I like the texture it adds. I choose a tulle/sheer and a silk eggplant color (In the pics it looks black put it's just a VERY DEEP purple.)
Flower template (small and large). I just printed one from clip art, and then used a thicker paper to use as a stencil. 
Sharp Scissors & Hot Glue Gun.
Some kind of embellishment.I like the crystal/gems that I used but buttons always look cute too!
A heat gun ...or in my case a small tea light candle. 
Ribbon. Preferably matching the color of fabric, or a fun print would be exciting! 


Bare with me because I have a VERY HARD time taking step by step pictures. I just get too excited about my project being done! 


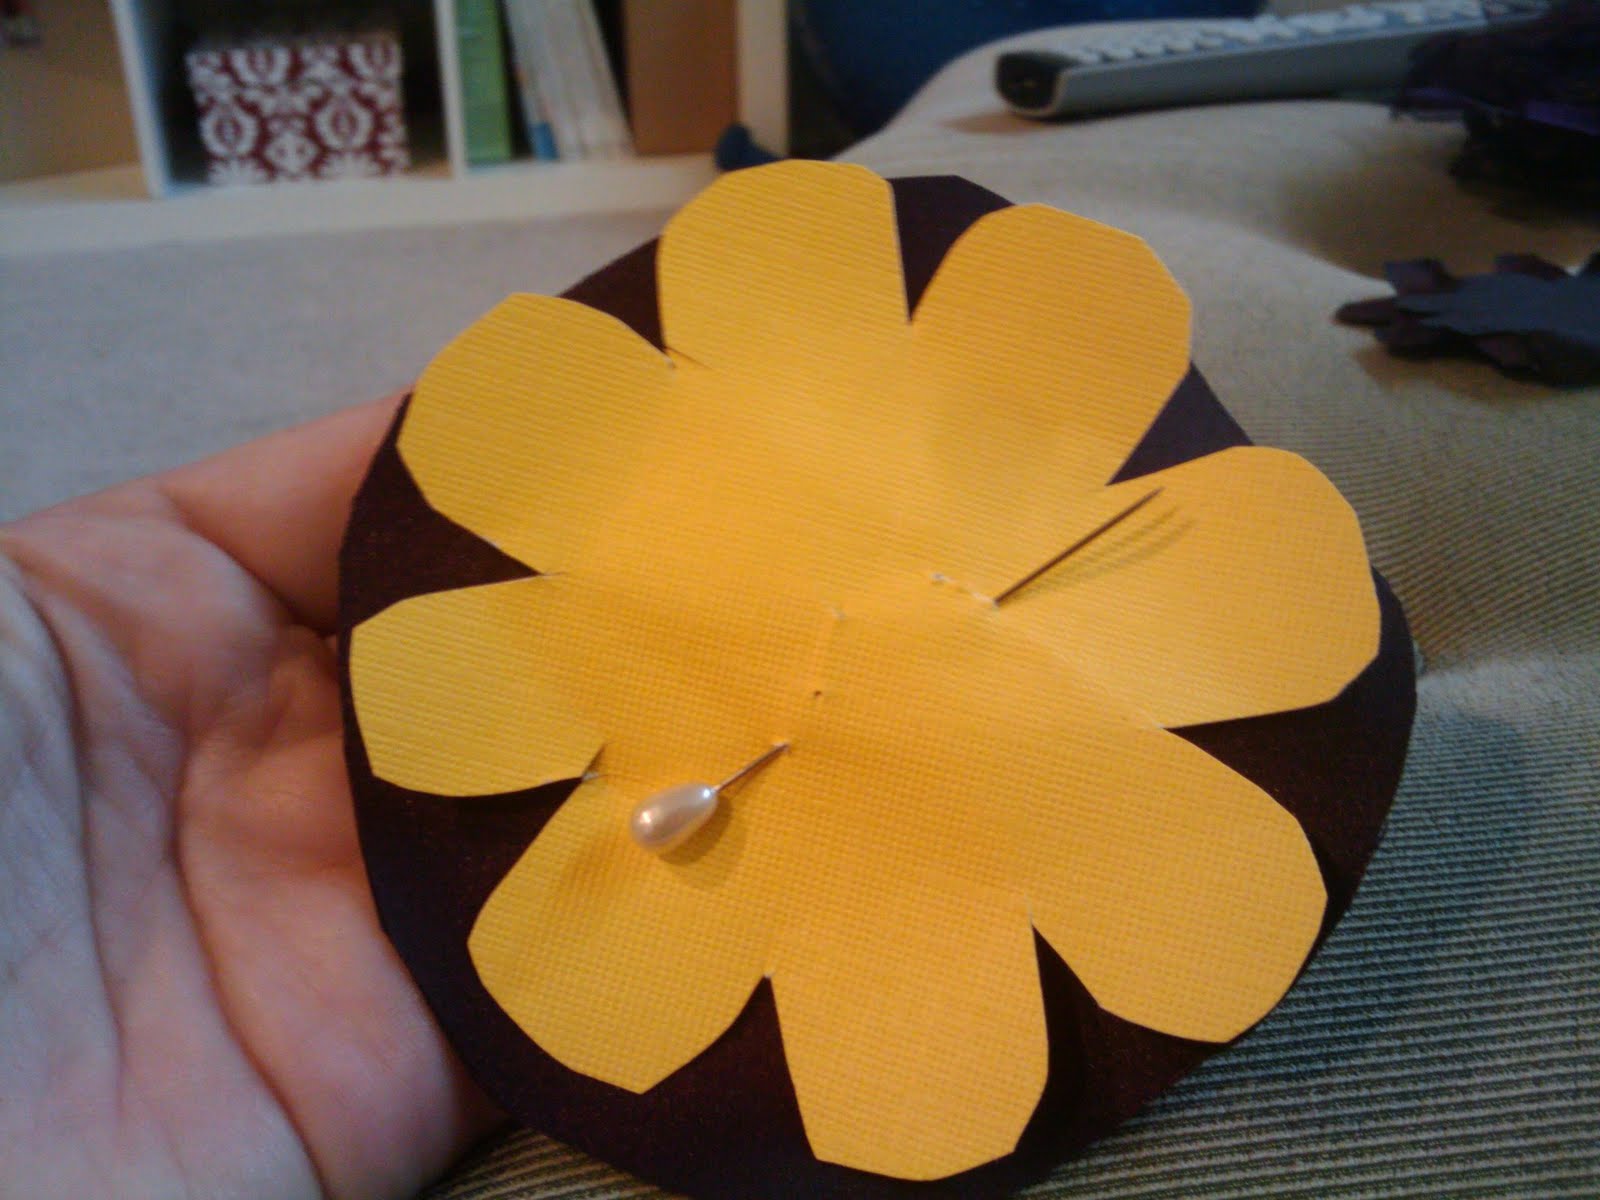
I like to layer my fabric and cut multiple at a time. 
Repeat this step with both types of fabrics and both sizes of flowers.

Once all your flowers are cut you need to singe the edges, hence where my tea light candle came into play. Be careful because the tulle/sheer fabric burns quickly : )

Stack your flowers however you want in regards to what kind of texture you like, I enjoy more of the tulle/sheer so I only used a few of the silk fabric. Just layer each with a dab of hot glue. 

Embellish each flower, and hot glue onto your choice of ribbon, and shaaazaaaam:


For the clasp in the back, just tie your ribbon! 

This project was fairly easy but as mentioned it is very time consuming. 
With all the materials bought (1/2 yard of fabric and a spool of ribbon, gems I already had on hand)... each necklace total cost: $3.00! 


This is Sarah's necklace, she did such a good job! (So proud!)
She decided to do more of a scoop rather than layering. It's adorable! 


Photobucket

Monday, July 5, 2010

Red, White & Blue


4th of July Wreath

I made this wreath last minute over the weekend. This year has gone by so fast I can't believe the 4th came so quickly, and I almost forgot to make something in celebration!

This project took a little bit of time, but it was VERY easy to make! Below are the materials I used... 
- Any fabric
- Wreath

I cut the fabric into strips about two inches wide and eight inches long. (I got a 1/2 yard cut of each fabric and that was perfect!) I alternated the colored strips and just tied them in knots around the wreath. I did not use any adhesive or glue, it was not needed. Once you have completed tying the fabric around the whole wreath you can move the knots (since they aren't glued) and make a pattern alternating them. 

Ta da! This project could be used for ANY celebration, just use your choice of fabric! 

Hope everyone had a safe holiday! Cheers! 


Monday, June 21, 2010

Etching Glass

How To Etch Glass!
Last week I came across this really cool tutorial given by Ashley over at Make It & Love It . I couldn't wait to try it! I have a Silhouette, and am still learning how to use it, so I love finding new projects that I can use it with!
(I was so anxious to get started I wasn't very good at taking step by step pictures. Whoops!)

First step is to cut your vinyl and desired design. Using the negative cut out place it on the glass. (The votives were purchased at the Dollar Tree, and they could easily be used for a drinking glasses as well!)

Using Armor Etch place it over your design, be very careful with where you place this stuff!! It is PERMANENT and CAN NOT be wiped off! Let it sit for 7-10 minutes and then rinse it off with tap water, wiping the excess amount off.


And ta da! They are kind of hard to see in the pictures but they turned out great!


This one is my favorite*!!! I am ALWAYS using my pyrex and leaving it here and there, this way with my name on it, it won't get lost! As Ashely mentioned, it is such a great idea for a wedding gift to etch the newlyweds last name on a set of pyrex.

I might be going on an etching phase, and I will be sharing ;)


Friday, May 28, 2010

How To Make A Wine Cork Wreath

Wine Corks!
So I have been hoarding collecting wine corks for about a year now and have been brainstorming ideas on how I can use them. (Check out my wine cork votive post!)

Anyways, now I have more than I know what to do with.
Over Christmas my mom and I decided to make a wine cork wreath. I l.o.v.e. the way it turned out!

Here is how to make a Wine Cork Wreath:
You can use any size wreath, I used a straw wreath on my first one... but the Dollar Tree sells grapevine wreaths and they work just as good. On a 10' inch size wreath you need about 200+ corks. Simply start by using a hot glue gun and placing the corks side by side (as seen below).

I sorted out my wine corks so the ones that I had multiple of, I set aside and used them at the base. Leaving the ones that were "special" or "unique" to be places on top.

Then just randomly place your favorite corks on top and Ta Da!
With all the wine corks I have accumulated my mother has been going on a wreath frenzy... she even bought some grape and vines to wrap around. I like it just plain and simple, but I guess you could change out ribbon or flowers to be seasonal.

*I do apologize for the crappy pictures, they were taken on my phone... as my camera is currently "hiding" somewhere.

Tuesday, March 30, 2010

Faux Headboard Art

Finally Something!!!!

So I have gone several years with out a headboard, or anything as a matter of fact, above my bed. It has been driving me crazy so I finally decided to do something! My mom & I spent an afternoon working on this...


Items needed:
PVC or Particle Board
Quilting Batting
Fabric
Staple Gun
Saw Tooth Hangers

Cut your fabric (if it's is print I would recommend lining it up as best as possible!) and place your batting underneath, tuck around the corners and staple! That's it.... attach saw tooth hangers, and hang.


I purchased my PVC board at Home Depot, they will cut it for you.
The dimensions I used are... H 30 in x W 18 in.

I am in L.O.V.E. with this print fabric, it is on my dishes and various places throughout my place. It is burlap so it's a little bit thicker, and it was pretty expensive (even on sale) Eeeek!

The options are endless on this project. You could choose your own size, fabric, colors, solids, prints. You could even add ribbons or buttons, or do a combination of solids and prints...
Photobucket

Monday, February 22, 2010

Popsicle Stick Monogram!


Last week I had a fun craft night with Olga & Ethan and decided to bust out some paints! For this project, I actually already had everything on hand!


Items used:
Piece of wood or particle board
Paint (your choice of colors, probably at least three)
Sponge brush
Popsicle sticks
Black pipe cleaner (or whatever your heart desires as an embellishment)
Glue
Painters Tape


Start by drawing letter by hand or use a stencil, using a pencil leaving a light pencil line. Start by painting the base color (the lighter stripes). Once it dries take painters tape, and depending how thick you want your stripes, measure and lay accordingly. (Make sure the tape is pressed firmly so the paint won't seep!) While you are waiting for your stripes to dry you can start breaking apart the popsicle sticks and start painting. I also made a small "bee" or "bug" embellishment by using the popsicle sticks for the wings, and the body is made up of a black pipe cleaner, I just wrapped it around a pencil to give it a nice curl! Once the paint has completely dried on your stripes, remove the painters tape carefully. You should still be able to see the outline of the letter you sketched. Lay out the popsicle sticks and glue (Elmer's usually works the best!) Last but not least, be sure to add your embellishment. Make it yours!