Wednesday, December 8, 2010

DIY Ribbon Bag

Remember the post I Heart Ribbon... 
and the crazy amount of ribbon I have? 


Over the weekend of black friday I kept seeing ribbon bags on sale.

They were priced anywhere from $15 - $30. I thought to myself that is a lot of money for a plastic bag with holes in it...


I remembered that I had this bag in my closet from awhile ago when I bought some bedding and figured it would be the perfect size for my new ribbon bag!

I used my cropadile (aka... the best tool EVER) and punch holes all throughout the bag. I wound each ribbon around  my fingers before inserting a small strip through the holes, that way it's not going to get tangled with all the other ribbons and when you need to use your ribbon you just select and pull! 


Some holiday cards are in the works and will be posted in the next week.... hope you are excited to see them! 

Photobucket

Monday, November 15, 2010

Giving Thanks

As Thanksgiving is quickly approaching I have been procrastinating with my holiday project for this month. This past weekend gave me a little inspiration to get this post done. 

I put together a quick "give thanks" sign. I had the two chip boards for a book I never gotten around to. I set up my layout first to get an idea of how it would look.


I used mod podge to get a glossy look for the printed paper I used as the background. The cardboard letters were spray painted with a soft cream color. Once those steps were done I hot glue gunned the letters and embellished as shown using ribbon, buttons, flowers, metal letters, jewels, etc. 

_______________________________________

My mom and I went this past Saturday to volunteer for Operation Support Our Troops Northwest. This Christmas pack out had over 150 volunteers and we stuffed over 3,200 stockings to be sent out to troops to arrive in time for Christmas. The pack out was featured on our local news channel here  is the short video clip.


Home of the Free Because of the Brave...
God Bless Our Troops.


Photobucket

Tuesday, November 9, 2010

Weekend In Whistler

This past weekend 13 of my closest girlfriends traveled up north to Whistler, Canada to celebrate Nicole's 25th Birthday (welcome to the club little!). These pictures can't even capture the amount of fun that was had! Just a few highlights to share with you.... 

Remember when I told you I was possibly going to be obsessed with etching? Well it's official. I made these beer steins for all the girls with their name etched and a tag. My tutorial on etching can be found here.
Lindsey and Michelle. Cheers! 
Kelly, Me, Teagen and Nicole during a game of catch phrase!
Erika and Lo breaking it off on the dance floor. 

Note to self... alcohol in Canada is EXPENSIVE! 
Something new and crafty I learned.... it's called "Pot Shots". Yup, you take a shot out of a pot. Sam made Nicole a personalized "pot shot pot" for her birthday! 
We enjoyed some Olympic sightings.

Oh yeah.... a few brave souls went bungee jumping....
Nicole by far was NOT the bravest <-- look at her face!  BUT she did it!
Erika enjoying the ride. 

Lindsey & Teagen getting ready to jump!
The whole group. 


It was an amazing weekend with great friends in a beautiful place.... 

HAPPY BIRTHDAY NICOLE!

Photobucket

Monday, October 25, 2010

Mummy Pops


These Halloween treats were fun and really simple to make...


Items that you need... a package of oreos, sucker sticks, white candy melts (I used Wilton), a piping bag and a flat decorating tip, and googly eyes (I was not able to find the edible googly eyes, so I used Wilton black sparkle gel). 

The original post and step by step instructions can be found over at How Does She? 
 (Note: I decided to not cover the whole entire cookie because I just thought it'd be too sweet, so I only dipped the front of the cookie.)


PhotobucketMy nephew, Ethan, enjoyed playing with and eating his mummy pop!


Monday, October 11, 2010

Stamp Thank You Card

 I went to a Stampin' Up! bunco party last month and purchased a few stamp sets. I was excited when I found a reason to use them! I am not usually into stamping but these sets were too cute to pass up;


I needed to make a couple of quick thank you cards that I could just whip out in a matter of minutes. I already had everything on hand, and used a 1 1/4 inch circle punch and also a hand held single punch. The ribbon that I used (I actually won it!) is also Stampin' Up! 

If you need a Stampin' Up! demonstrator contact 
Blair over at Bright Pink Sprinkles!


Photobucket

Monday, September 27, 2010

Candy Corn Wreath

Time To Decorate!

My sister in law picked up this magazine for me the other day... To be honest I have never opened or read through a Woman's Day magazine. They have so many brilliant ideas for October/Fall/Holiday decorating, etc. (There are super cute how-to cupcakes that I might have to attempt to make.) 


The wreath on the cover is made from candy corn, and it didn't look that difficult to make at all.

You'll need a styrofoam wreath (I used a 12 in. one, the magazine recommened a 16 in.), black duct tape, wide ribbon, and candy corn (my size wreath took 3 11oz bags, Brach's brand). Start by covering the wreath with the tape. 


Start in the middle of the wreath laying candy corn the same direction and continue all the way around... there is going to be a gap once going around, just be sure to start the next  row in the same spot each time, you can cover any candy corn free space with the ribbon. Repeat with each row opposite of the once before. Loop ribbon of choice through wreath and hang on a sturdy nail.

Here is my new Halloween wreath! 

I love it!

Photobucket

Monday, September 20, 2010

Fabric Flower Necklace

J. Crew, Anthropology, Urban Outfitter, Ann Taylor, 
Cookie Lee, Nordstrom, Target, etc. etc. 
Inspired Fabric Flower Necklace How To

I have been wanting to make one of these necklaces for awhile and have seen them all over at the mall, in magazines, on other blogs, pretty much everywhere. I went to a Bunco party this weekend, and one of the ladies was wearing a Cookie Lee Necklace, as soon as I saw it I had to make it. It was a great piece to see for inspiration but I definitely took some of my own alterations to it. 

I planned to have a "veg" day and do nothing, but crafting consists of doing nothing, right?! One of my best friends is in town from Hawaii and this was a fun project to work on together and I always enjoy bringing someone over to the crafting dark side...

It is a little time consuming but worth the end product! 


Items needed:
Choose a fabric. I used two because I like the texture it adds. I choose a tulle/sheer and a silk eggplant color (In the pics it looks black put it's just a VERY DEEP purple.)
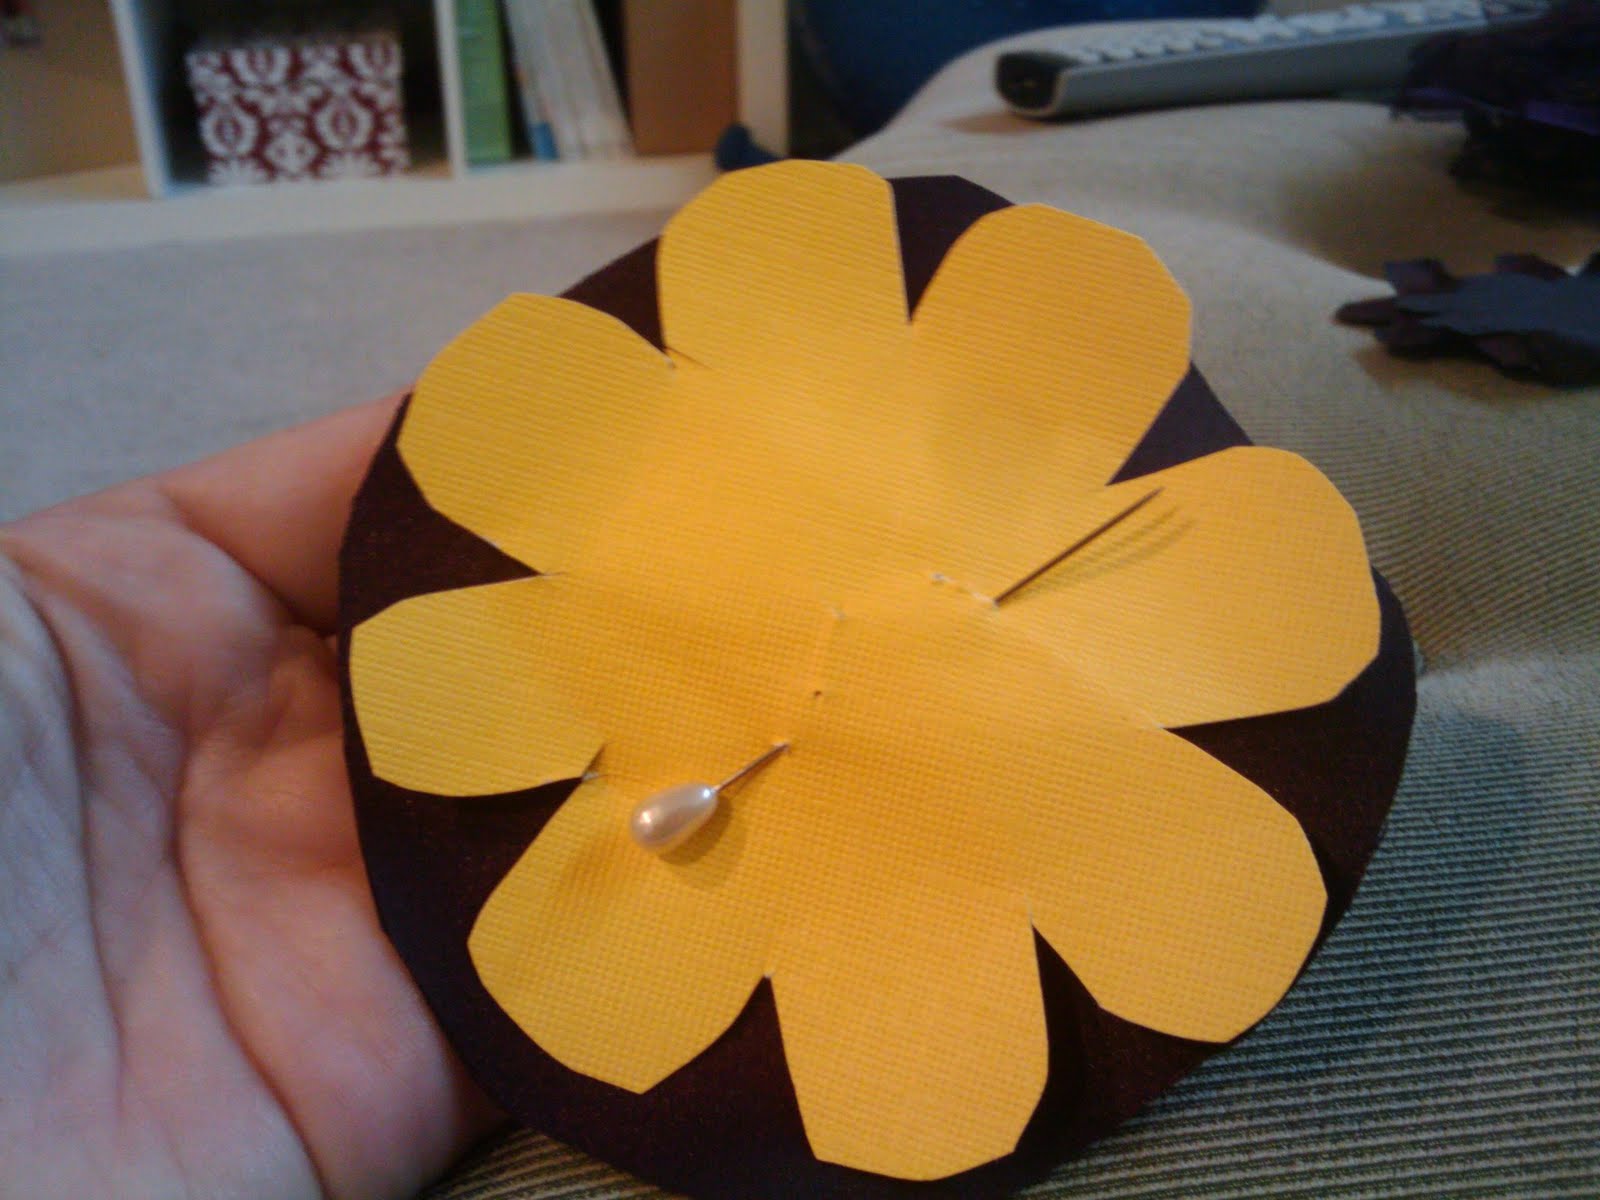
Flower template (small and large). I just printed one from clip art, and then used a thicker paper to use as a stencil. 
Sharp Scissors & Hot Glue Gun.
Some kind of embellishment.I like the crystal/gems that I used but buttons always look cute too!
A heat gun ...or in my case a small tea light candle. 
Ribbon. Preferably matching the color of fabric, or a fun print would be exciting! 


Bare with me because I have a VERY HARD time taking step by step pictures. I just get too excited about my project being done! 


I like to layer my fabric and cut multiple at a time. 
Repeat this step with both types of fabrics and both sizes of flowers.

Once all your flowers are cut you need to singe the edges, hence where my tea light candle came into play. Be careful because the tulle/sheer fabric burns quickly : )

Stack your flowers however you want in regards to what kind of texture you like, I enjoy more of the tulle/sheer so I only used a few of the silk fabric. Just layer each with a dab of hot glue. 

Embellish each flower, and hot glue onto your choice of ribbon, and shaaazaaaam:


For the clasp in the back, just tie your ribbon! 

This project was fairly easy but as mentioned it is very time consuming. 
With all the materials bought (1/2 yard of fabric and a spool of ribbon, gems I already had on hand)... each necklace total cost: $3.00! 


This is Sarah's necklace, she did such a good job! (So proud!)
She decided to do more of a scoop rather than layering. It's adorable! 


Photobucket